How to add “Signin With Apple” to your website
Use an apple account to autheticate your users.
Why Use Apple?#
Many websites have provide users a way to sign in to their applications via third party services like Google, Twitter, GitHub etc. We're trying to provide users with a more convenient solution where they can use their already existing accounts. Apple also provides a way for you to do this but their process can be very challenging if you're attempting this for the first time. In this blog post I'd like to show you how to integrate "sign in with apple" into your web application. This is about react and nodejs but with some understanding you can make it work with your own tech stack.
What We're Aiming For#
- User visits your website.
- User presses the "Sign In with Apple" button.
- A pop up window opens that takes the user to an apple website where they login into their apple account.
- After successful login apple sends some information about the user back to the window where we initiated the signin process.
- We capture the data and send it to our server for verification and storing the information in our database.
Initial Setup#
In short, you need to have some setup and configs in hand before you start working on the code. In summary, you'll need to do these things -
- Create an App ID.
- Create a Serve ID.
- Register the domains for your website.
The following are some screenshots to explain the process of App ID and Service ID creation. If you're already familiar with this process, jump to the next section.
App ID#
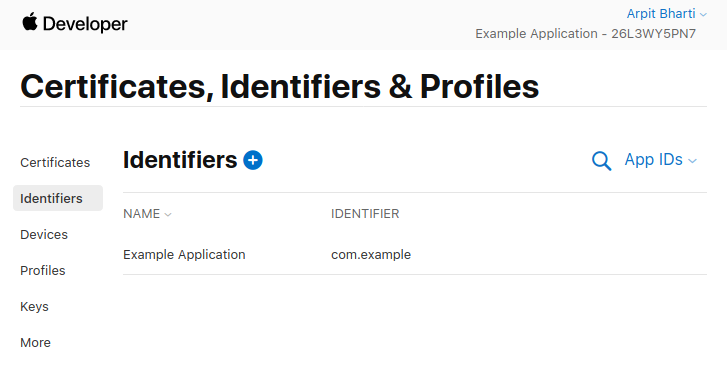
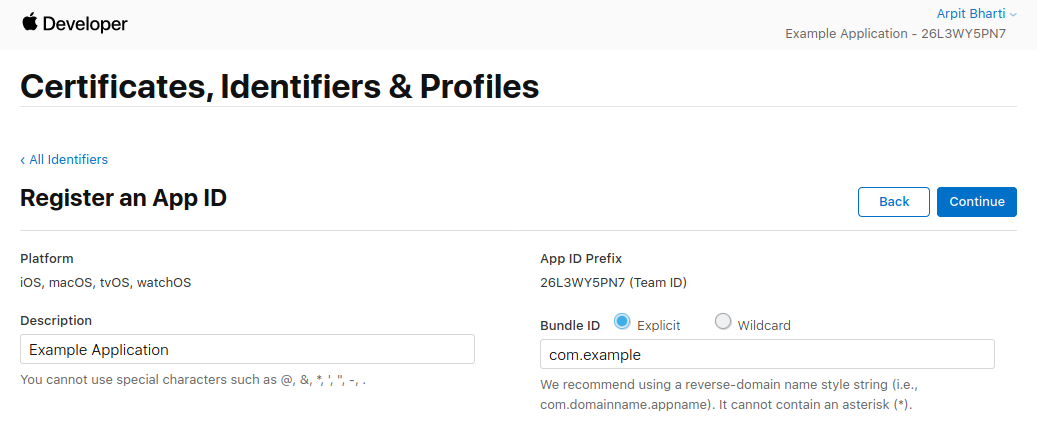
Open Your developer console and find Certificates IDs & Profiles
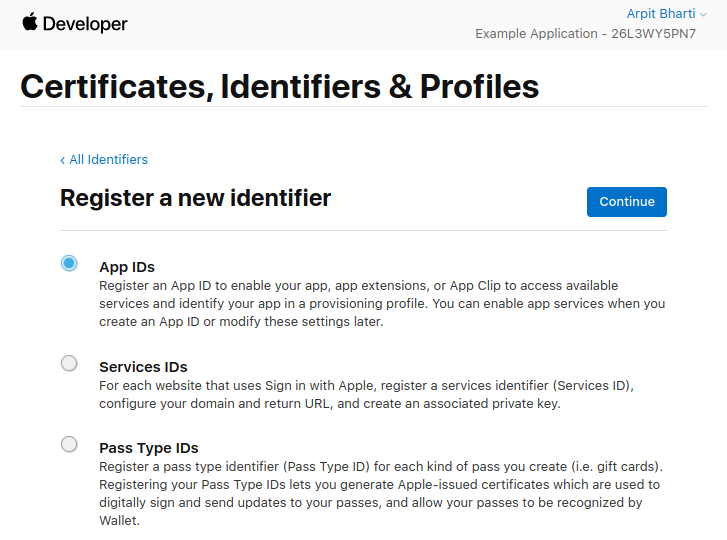
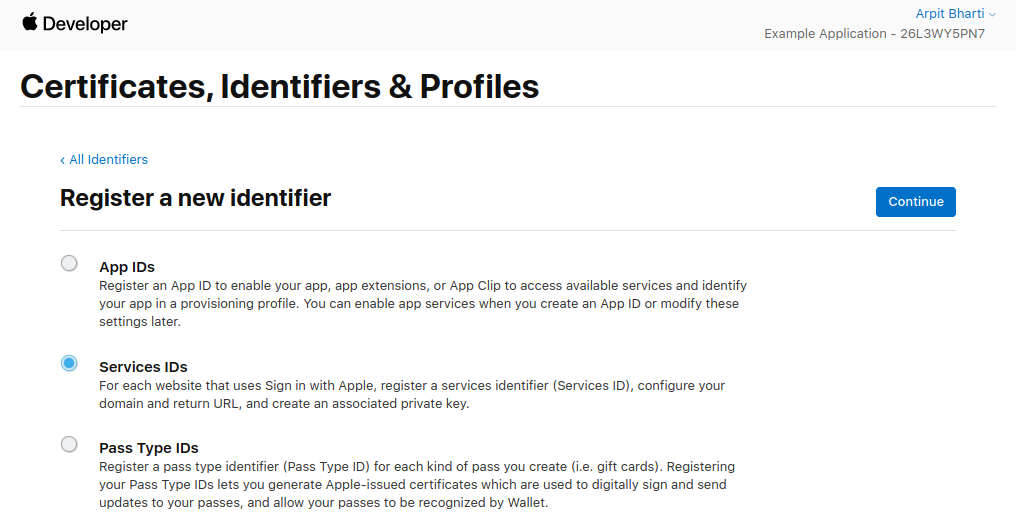
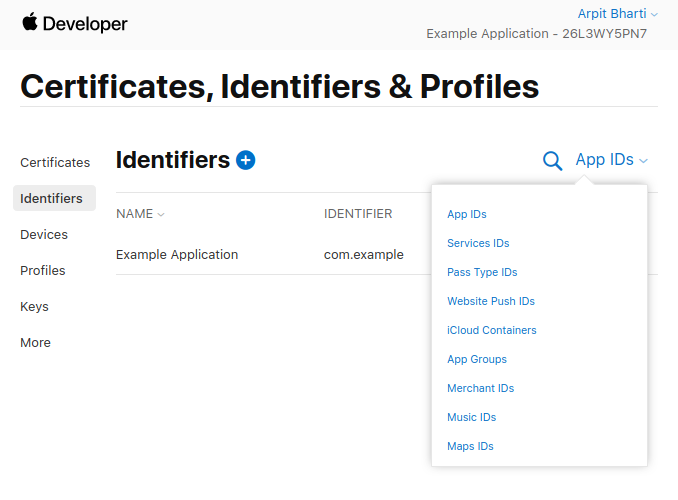
Click on Identifiers in the side panel. Then click the plus symbol next to Identifiers to create a new App ID.
Select App IDs
Select Type App
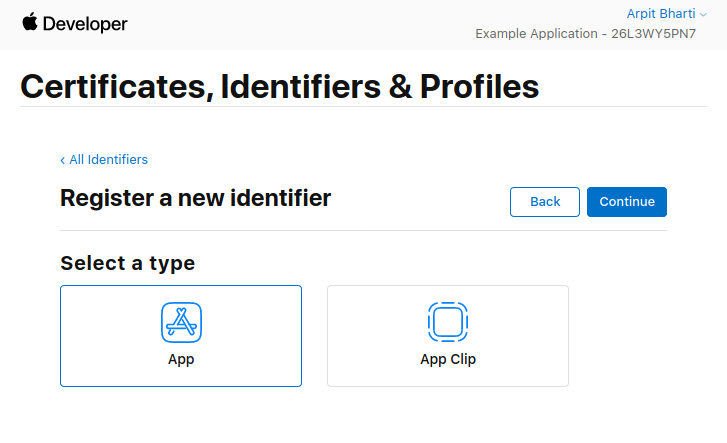
Use a descriptive name for your application, I've used Example Application here. We'll choose an explicit style Bundle ID for now, use apple's suggested reverse domain style for proper namespacing, the string can be anything but you should stick to convention. I've used com.example here.
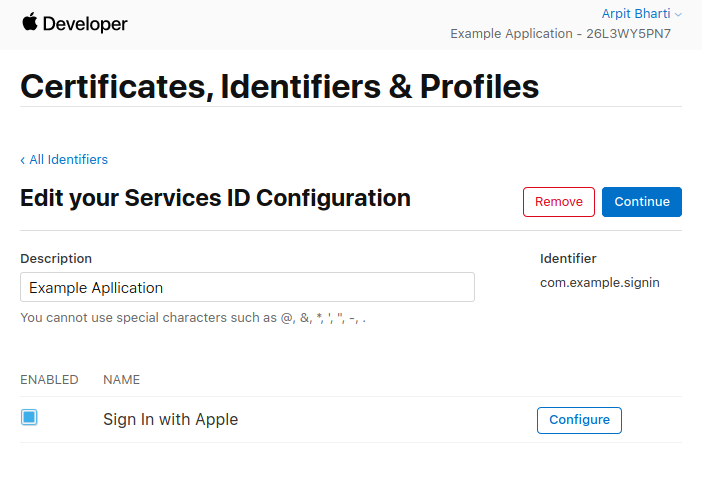
Service ID#
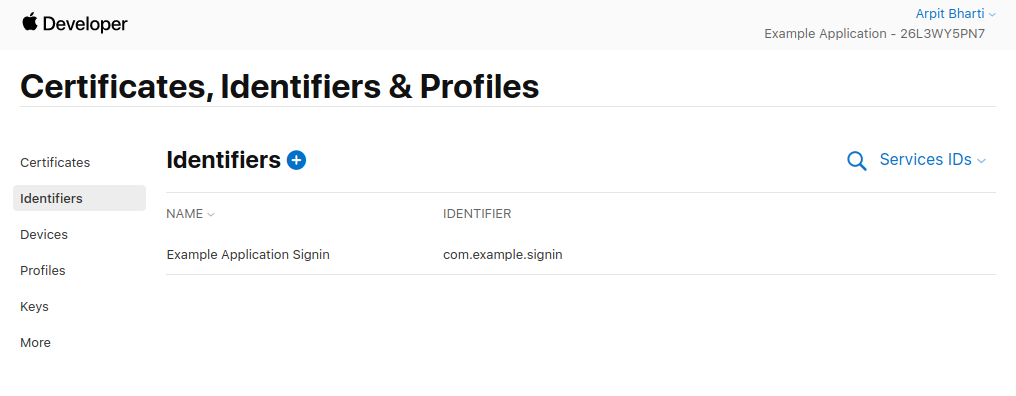
Go back to the developer console and create a new identifier. This time select Services IDs.
Register a service with a proper description, I've used Example Application Signin here. For the identifier we'll follow the convention and use com.example.signin.

Your new Service ID is created, find it by using the dropdown you see on the left.
Click on your Service ID that you just created.
After you hit continue and save click in the identifier again. You'll be greeted with a checkbox tha say Sign In with Apple. Click on Configure.
A modal will popup, register your domain here.
- As your Primary App ID, choose the one we just created in the previous section.
- In the domains section add the domain where this service will be used.
- The return URL is the location to which apple will redirect us after authentication is completed. This is also the location where apple will send the user data after authentication. If it's a link to your server API, then apple will send a POST request to this URL. However, we will use location of our frontend as the return URL, and the data will be captured on the client side(more about this in the next section). I've assigned
http://example.comfor this example.
The Frontend#
The most straight forward approach to using apple signin on your front end is to use the library provided by apple. Add the following CDN link to your page to load the library apple has provided.
<script
  type="text/javascript"
  src="https://appleid.cdn-apple.com/appleauth/static/jsapi/appleid/1/en_US/appleid.auth.js"
></script>
This will make a global AppleID object available to you for use. Here's how we'll use them.
/**
 * This function will initialize the `AppleID.auth` object with parameter we pass in.
 */
const initApple = () => {
  window.AppleID.auth.init({
    clientId: 'com.example.signin', // This is the service ID we created.
    scope: 'name email', // To tell apple we want the user name and emails fields in the response it sends us.
    redirectURI: 'http://example.com', // As registered along with our service ID
    state: 'origin:web', // Any string of your choice that you may use for some logic. It's optional and you may omit it.
    usePopup: true // Important if we want to capture the data apple sends on the client side.
  });
};
Apple makes a POST request to the
redirectURIthat you specify, normally you'd have a link to your backend API where the data gets posted, however we can bypass this and capture the information on the frontend by using theusePopupflag. This will instead capture apple's response on the client side.
The below function is how we start the apple authentication workflow. It will open a popup window where a user will be asked to input their apple email and password. After a successful login apple will send a response object with user data that we can store in our backend.
/**
 * This function is where the magic happens.
 * This is a simple example, ideally you'll have catch block as well to handle authentication failure.
 */
const singInApple = async () => {
  const response = await window.AppleID.auth.signIn();

  return response;
};
This is what the response will look like (for first time users).
{
  "authorization": {
    "state": "[STATE]", // The state string we used in the initApple function
    "code": "[CODE]", // A single-use authentication code that is valid for five minutes. We won't be using this for now.
    "id_token": "[ID_TOKEN]" // This is what we're really interested in. This is JSON web token we'll be decoding in the backend.
  },
  "user": {
    // User details object, we'll be storing this data in the backend as well.
    "email": "[EMAIL]",
    "name": {
      "firstName": "[FIRST_NAME]",
      "lastName": "[LAST_NAME]"
    }
  }
}
The
userobject is only sent the first time a user logs in, the rest of the times apple will only send theauthenticationobject.
Great! now that we have authenticated the user from apple's perspective we need to verify the user in the backend before authenticating them. You can use whatever utility you wish axios, fetch; it doesn't matter as long as you get your data to your server.
The Backend#
This is specific to Node.js but remember id_token is a JSON web token and you can use libraries in other languages to decode it.
For now we'll use a library tailor made for apple sign in called apple-signin-auth.
Install simply with -
npm i apple-signin-auth
or
yarn add apple-signin-auth
Now inside your controller, receive the token and decode it.
const appleSignin = require('apple-signin-auth');

const { authorization, user } = req.body;

try {
  const { sub: userAppleId } = await appleSignin.verifyIdToken(
    authorization.id_token, // We need to pass the token that we wish to decode.
    {
      audience: 'com.example.signin', // client id - The same one we used  on the frontend, this is the secret key used for encoding and decoding the token.
      ignoreExpiration: true // Token will not expire unless you manually do so.
    }
  );
} catch (err) {
  // Token is not verified
  console.error(err);
}
The decoded message here is userAppleId it is unique identifier for a single user and and persists on multiple logins.
You can use your login workflow now.
- Query your database to find if
userAppleIdexists. - If it exists then great! You have your user.
- If it doesn't then you need to create a new user linked to this apple id, (The user details, email and name are only sent the first time a user logs into so you need to save those as well.)